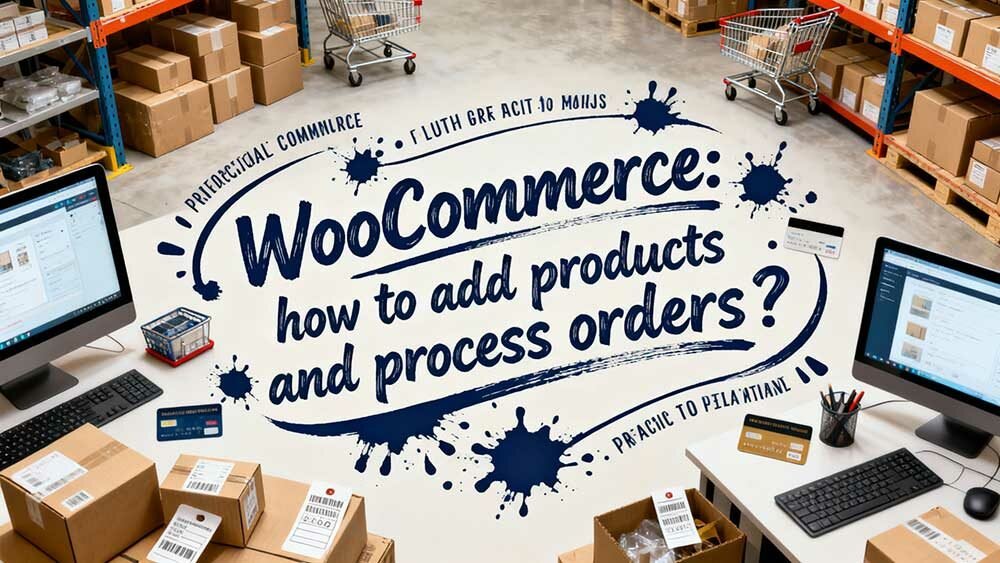
You’ll add products by navigating to Products > Add New in your WordPress dashboard, where you’ll enter a keyword-rich title, engaging description, and upload high-quality 800×800 pixel images. Set your pricing in the General tab, enable stock tracking, and organise items using Categories for better guidance. Once customers purchase, orders automatically appear in WooCommerce > Orders with colour-coded status indicators, shifting from “Pending payment” to “Processing” after payment clears. There’s more to control for seamless store management.
Setting Up Your WooCommerce Store for Product Management
Before you can start adding products that’ll actually make you money, you need to establish your store’s foundation—and believe me, neglecting this step will cause problems later.
Foundation first, profits second—skip the groundwork and watch your store collapse when customers actually start buying.
Head to your WooCommerce settings page in your WordPress dashboard first. Configure your currency to South African Rand, set your location to South Africa, and establish shipping zones that cover major centres such as Cape Town, Johannesburg, and Durban.
Set up your tax settings according to South African VAT requirements at 15%.
Next, create your product categories through Products > Categories. Build a logical hierarchy like Apparel > T-shirts > Long Sleeve to help customers navigate efficiently. A well-structured category system combined with local search strategy will help your products rank better in search results when customers are searching for specific items.
Finally, set up your payment gateways through WooCommerce > Settings > Payments. Whether you’re using PayPal, Stripe, Payfast, or EFT payments, test everything thoroughly before launch. The setup wizard can guide you through these initial configurations if you prefer a more structured approach.
Nothing kills sales faster than broken checkout processes.
Creating and Configuring Your First Product Listing
Now that your store’s foundation is rock-solid, it’s time to create your first product listing—the moment where all that setup work transforms into something customers can actually purchase.
Navigate to Products > Add New from your WordPress dashboard. You’ll see the familiar editor interface, but with WooCommerce-specific fields that transform a basic page into a selling machine.
Start with the essentials: a clear, keyword-rich product title and engaging description. Your main description acts as primary sales content, so use short paragraphs and bullet points.
The short description appears near your product image—make it count.
In the Product Data box, select “Simple Product” for items without variations. Set your regular price in South African Rand, add a SKU for inventory tracking, and input weight plus dimensions for shipping calculations. Don’t forget to upload high-quality images that showcase your product from multiple angles and provide a professional appearance that builds customer trust.
Managing Product Images, Pricing, and Inventory Details
While your product listing foundation is solid, three critical elements will determine whether visitors become buyers: engaging images, strategic pricing, and accurate inventory management.
Your images need proper sizing—800 by 800 pixels works for most products, though complex items require 2000px dimensions for zoom functionality. Upload your main image through “Product Image” and additional views via “Product Gallery.”
Set ideal image dimensions: 800x800px for simple products, 2000px for detailed items. Use light grey backgrounds (#eeeeee) to create natural product definition.
Configure pricing in the General tab—single prices for simple products, ranges for variables. When setting your prices in South African Rand, consider your target market and competition.
Enable stock tracking with quantity limits and low-stock threshold notifications. Quality visuals support branding and marketing efforts throughout your store.
Don’t forget SEO optimisation through alt texts and descriptions. Properly optimised product pages with meta descriptions help attract more qualified buyers from search results. Your pricing strategy and inventory accuracy directly impact customer trust and conversion rates.
Organising Products With Categories and Optimisation Techniques
Once you’ve uploaded stunning product images and set competitive prices, your store’s success depends on how easily customers can find what they’re looking for. Move to Dashboard > Products > Categories to create logical product groupings. Your category names should be descriptive yet concise, whilst the slug field automatically generates URL-friendly versions.
| Category Element | Best Practice | Impact |
|---|---|---|
| Hierarchy Structure | Use parent/child relationships | Improves browsing flow |
| SEO Optimisation | Include relevant keywords in descriptions | Enhances search rankings |
| Visual Appeal | Add high-quality thumbnail images | Increases click-through rates |
Don’t create overly broad categories like “General Items” or extremely specific ones like “Red-Medium-Cotton-T-Shirts-Size-38.” Strike a balance that makes sense to your South African customers, not just your inventory system. Consider local shopping preferences and terminology that resonates with the South African market. Remember that proper keyword optimisation in your category descriptions will significantly improve your products’ visibility in search results.
Processing Customer Orders and Managing Transaction Workflows
After customers complete their purchases, your real work begins with managing the intricate dance of order processing and fulfilment.
WooCommerce automatically shifts orders from “Pending payment” to “Processing” once payment clears, but you’ll need to guide them through completion.
Navigate to WooCommerce > Orders in your WordPress dashboard to access your order management hub.
Here’s what you’ll find:
- Colour-coded status indicators – Processing (Green), Completed (Blue), Failed (Red), Pending payment (Grey)
- Essential order details – Customer information, shipping addresses, order totals in Rand, and unique Order IDs
- Robust filtering capabilities – Search by customer name, email, date ranges, or specific order statuses
- Built-in communication tools – Order notes for internal team coordination and automatic customer notifications